
Garage Gym Flooring UK: Complete Setup Guide for 2025
Converting your garage into a home gym is one of the smartest fitness investments you can make. But before moving in equipment, you need proper flooring. This comprehensive guide covers everything about garage gym flooring in the UK – from material selection to installation and maintenance.
Why Garage Gyms Need Specialized Flooring
Garages present unique challenges that make proper flooring essential:
Concrete Protection: Garage concrete is often thinner than house foundations. Dropped weights can crack and chip unprotected concrete, leading to expensive repairs.
Cold & Moisture: UK garages are typically unheated and prone to condensation. Quality flooring provides insulation and moisture resistance.
Noise Control: Attached garages share walls with living spaces. Proper flooring prevents noise transmission to your home and neighbours.
Safety: Cold, smooth concrete becomes slippery when wet. Rubber flooring provides grip and warmth underfoot.
Best Flooring for Garage Gyms
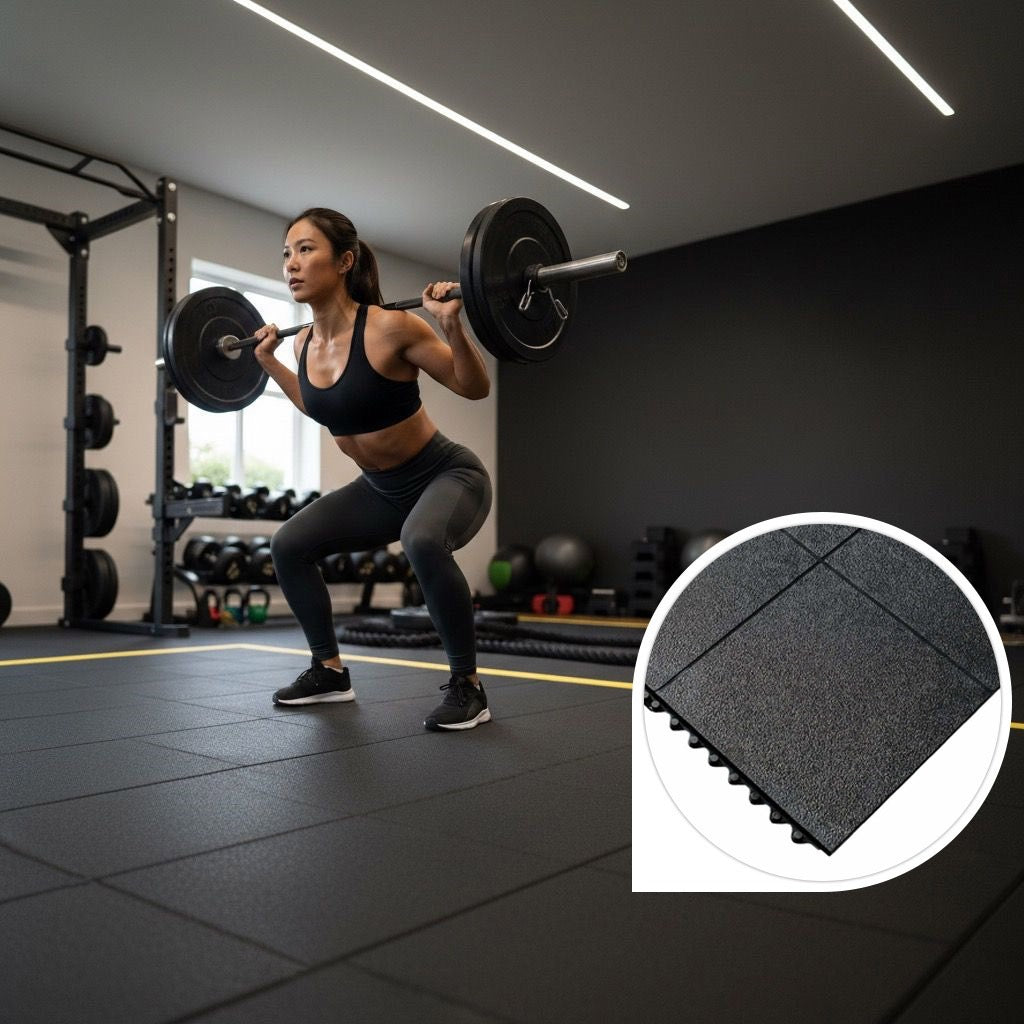
Interlocking Rubber Tiles (Recommended)
Why they're perfect for garages:
- Easy DIY installation on uneven garage floors
- Excellent insulation against cold concrete
- Superior shock absorption for dropped weights
- Moisture resistant – handles garage condensation
- Durable in temperature fluctuations
- Individual tiles easily replaced if damaged
- Portable if you move house
Recommended thickness: 15-20mm for most garage gyms, 20mm+ for serious weightlifting.
Heavy-duty rubber gym mats are the gold standard for garage gym conversions, offering professional performance with straightforward installation.
How Much Flooring Do You Need?
Standard UK Garage Sizes:
- Single garage: 3m x 6m (18 sq m)
- Double garage: 6m x 6m (36 sq m)
Coverage Options:
Minimal (Budget): Cover only the main lifting area – typically 2m x 3m.
Partial (Recommended): Cover the entire training zone including equipment and walkways – typically half to two-thirds of a single garage.
Full (Ideal): Cover the entire garage floor for maximum protection and professional appearance.
Pro Tip: Add 10% to your measurements for cuts and waste.
Preparing Your Garage Floor
Step 1: Clean Thoroughly
- Sweep and vacuum all dust and debris
- Remove oil stains with degreaser
- Allow to dry completely (24-48 hours)
Step 2: Check for Moisture
UK garages often have moisture issues. Test by taping plastic sheet to floor overnight. If condensation appears underneath, improve ventilation or use a dehumidifier.
Step 3: Level Major Irregularities
- Fill cracks with concrete filler
- Grind down high spots
- Use self-leveling compound for significant issues
Installation Guide
Tools Needed: Tape measure, chalk line, utility knife, rubber mallet (optional)
Steps:
1. Plan Your Layout – Start from the garage door or most visible area and work backward.
2. Acclimate Mats – Let mats sit in garage for 24 hours to adjust to temperature.
3. Lay First Row – Start with straight edge along your starting wall. Connect interlocking tiles firmly.
4. Continue Rows – Work row by row, ensuring tight connections. Stagger seams like brickwork.
5. Cut Edge Pieces – Use sharp utility knife to cut tiles for edges and corners.
6. Install Bevelled Edges – Add bevelled edge pieces around perimeter for professional finish.
Installation Time: Single garage (18 sq m) takes 2-4 hours for one person, 1-2 hours for two people.
Garage Gym Layout Tips
Zone Your Space:
- Lifting Zone: Central area with rubber gym mats, power rack, and free weights
- Cardio Zone: Treadmill, bike, or rower near door for ventilation
- Storage: Wall-mounted racks and shelving to maximize floor space
- Walkways: Maintain clear paths between equipment zones
Temperature & Moisture Management
Heating Options:
- Electric panel heaters (safest for garages)
- Infrared heaters (efficient spot heating)
- Insulated garage door (reduces heat loss)
Moisture Control:
- Install dehumidifier in damp garages
- Improve ventilation with vents or fans
- Seal concrete before installing flooring
- Use rubber mats (naturally moisture resistant)
Cost Breakdown
Single Garage (18 sq m / 194 sq ft):
- Budget foam: £400-800 (not recommended – poor durability)
- Quality rubber mats: £1,000-2,000 (recommended – 10+ year lifespan)
- Premium rubber rolls: £1,500-3,000 (commercial grade)
Double Garage (36 sq m / 388 sq ft):
- Quality rubber mats: £2,000-4,000
While rubber mats cost more initially, they last 10-15 years versus 1-2 years for foam, making them cheaper long-term.
Maintenance for Garage Gyms
Daily: Sweep or vacuum chalk dust and debris
Weekly: Mop with mild detergent and water
Monthly: Deep clean with rubber floor cleaner, check for loose tiles
Seasonally: Inspect for moisture damage, clean under mats if needed
Avoid: Harsh chemicals, bleach, or abrasive cleaners
Common Garage Gym Mistakes
1. Skipping flooring entirely – Leads to cracked concrete and damaged equipment
2. Using cheap foam mats – They compress and tear quickly under weights
3. Not addressing moisture – Causes mould and odour issues
4. Inadequate coverage – Leaves vulnerable areas exposed
5. Ignoring insulation – Makes winter training miserable
Frequently Asked Questions
Q: Can I install gym flooring directly on garage concrete?
A: Yes! Interlocking rubber mats are designed to go directly on concrete. Just ensure it's clean and dry first.
Q: Will garage gym flooring work in unheated spaces?
A: Absolutely. Quality rubber mats perform well in cold temperatures and provide insulation from cold concrete.
Q: How do I stop condensation under gym mats?
A: Improve garage ventilation, use a dehumidifier, and ensure concrete is sealed. Rubber mats are moisture resistant and won't trap water like foam.
Q: Can I drive my car over gym mats?
A: Not recommended. While durable, gym mats aren't designed for vehicle traffic. If you need dual-use space, install removable sections.
Q: Do I need planning permission for a garage gym?
A: Generally no, as you're not changing the structure. Check local regulations if adding electrical or plumbing.
Final Recommendations
For most UK garage gym conversions, we recommend:
- Material: Interlocking rubber mats
- Thickness: 15-20mm (20mm for serious lifting)
- Coverage: Full floor coverage if budget allows, minimum half-garage
- Finish: Bevelled edges for professional appearance
This combination provides excellent durability, insulation, noise reduction, and floor protection at reasonable cost.
Ready to build your garage gym? Explore our range of professional-grade rubber gym mats designed specifically for UK garage and home gym installations.